How to Replace a Leaky Faucet Cartridge: A Step-by-Step Guide
View Count:340 CategoryNews
Replacing a leaky faucet cartridge is a straightforward home repair that can save you money and prevent water damage. A faucet cartridge is a crucial component that controls water flow and temperature. Over time, cartridges can wear out, leading to leaks. Here’s a step-by-step guide on how to replace a leaky faucet cartridge, ensuring you can tackle this common household issue with confidence.
Tools and Materials Needed
Before starting, gather the necessary tools and materials:
- Replacement faucet cartridge (ensure it’s the correct type for your faucet)
- Adjustable wrench or channel-lock pliers
- Screwdriver (Phillips or flathead, depending on your faucet)
- Allen wrench (if your faucet has a hex screw)
- Plumber’s grease
- Towel or rag
- Bucket or bowl
Step-by-Step Instructions
1. Turn Off the Water Supply
Begin by turning off the water supply to the faucet. Locate the shutoff valves under the sink and turn them clockwise to close. If your sink doesn’t have shutoff valves, you may need to turn off the main water supply to your home. Open the faucet to relieve any remaining water pressure and to ensure the water is completely off.
2. Cover the Drain
Cover the sink drain with a towel or rag to prevent small parts from falling down the drain during the repair process. This will also protect the sink surface from potential scratches.
3. Remove the Faucet Handle
The method to remove the faucet handle varies depending on the type of faucet:
- Single-handle faucets: Look for a set screw, often hidden under a decorative cap. Use an Allen wrench to remove the set screw. If there’s no set screw, there might be a screw under the handle cap. Pry off the cap with a flathead screwdriver and use a Phillips screwdriver to remove the screw.
- Double-handle faucets: These typically have screws on top of the handles. Use a flathead or Phillips screwdriver to remove the screws and lift off the handles.
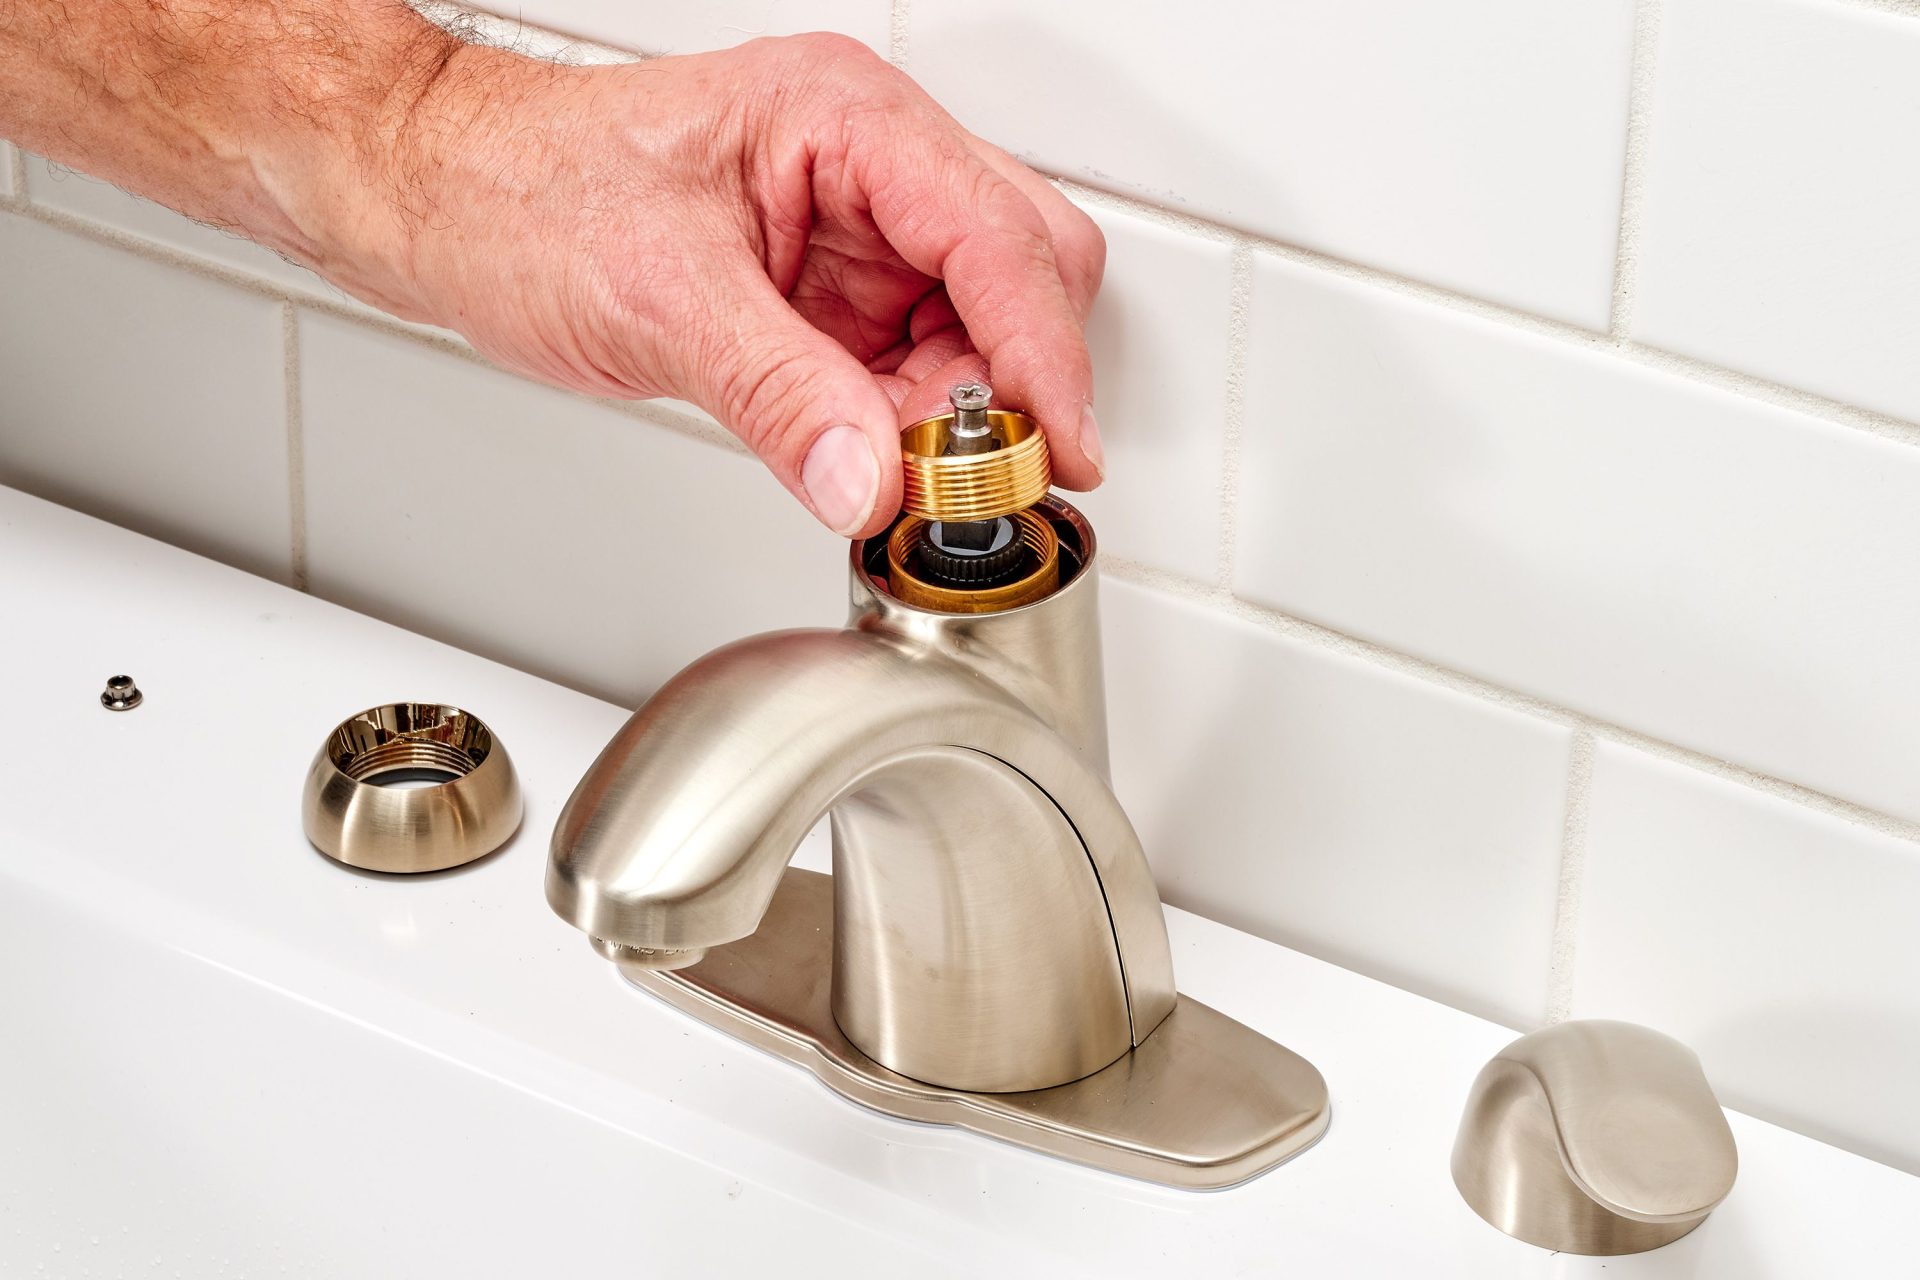
4. Remove the Cartridge
Once the handle is removed, you should see the cartridge. It might be secured with a retaining nut or clip:
- Retaining nut: Use an adjustable wrench or channel-lock pliers to loosen and remove the nut.
- Retaining clip: Use a flathead screwdriver to carefully pry out the clip.
With the retaining mechanism removed, you can now pull out the old cartridge. Grip the cartridge with pliers and pull straight up. Note the orientation of the cartridge to ensure proper installation of the new one.
5. Install the New Cartridge
Take the new cartridge and apply a thin layer of plumber’s grease to the O-rings. This helps ensure a tight seal and makes future removal easier. Insert the new cartridge into the faucet body in the same orientation as the old one.
Secure the cartridge with the retaining nut or clip. Tighten it securely, but avoid over-tightening, which could damage the components.
6. Reassemble the Faucet
Replace the faucet handle(s) by reversing the removal process. Secure the handles with the screws and, if applicable, replace any decorative caps.
7. Turn the Water Supply Back On
Once everything is reassembled, slowly turn the water supply back on. Open the faucet to check for leaks and ensure proper water flow and temperature control. If you notice any leaks, double-check that the cartridge is seated correctly and the retaining mechanisms are secure.
Tips and Troubleshooting
- Identify the Correct Cartridge: Faucets come in many different designs, and so do cartridges. Before purchasing a replacement, identify the make and model of your faucet, or bring the old cartridge to the hardware store to ensure a match.
- Stuck Cartridge: If the cartridge is stuck and won’t come out, try soaking it with vinegar to dissolve mineral deposits. Alternatively, use a cartridge puller tool designed for your faucet type.
- Leaky Faucet Post-Replacement: If the faucet still leaks after replacing the cartridge, check the seating of the cartridge and ensure all O-rings are properly greased and undamaged. Also, inspect the faucet body for any signs of damage or wear that could cause leaks.
Maintenance Tips
- Regular Inspections: Periodically inspect your faucets for signs of leaks or wear. Early detection can prevent more significant issues and water damage.
- Clean Mineral Deposits: Hard water can cause mineral buildup around the faucet components. Clean these deposits regularly to maintain optimal performance and extend the life of your faucet.
- Replace Seals and O-Rings: Over time, seals and O-rings can deteriorate. Regularly check and replace these components to prevent leaks.
Conclusion
Replacing a leaky faucet cartridge is a manageable DIY task that can save you money and prolong the life of your faucet. By following these steps and tips, you can effectively address leaks and maintain a properly functioning faucet. Remember, the key to a successful repair is preparation and attention to detail. With a little effort and the right tools, you’ll have your faucet working like new in no time.
 Faucet Online


您好!Sign In