How to Fix a Dripping Faucet: A Step-by-Step Guide
View Count:236 CategoryBlog
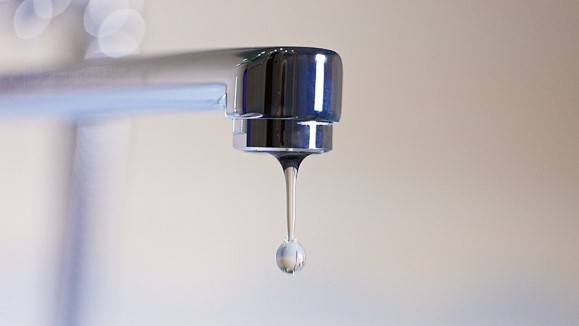
A dripping faucet can be more than an annoyance; it wastes water and can lead to increased water bills over time. Fortunately, many faucet drips can be fixed easily with basic tools and a little know-how. In this guide, we’ll walk through the steps to identify the cause of a dripping faucet and how to fix it.
1. Diagnose the Problem
The first step in fixing a dripping faucet is to identify the type of faucet you have and pinpoint the source of the drip:
- Compression Faucets: These have separate hot and cold handles and are identified by their compression mechanisms.
- Ball Faucets: These have a single lever and are less common in newer homes.
- Cartridge Faucets: These use a cartridge to control water flow and temperature.
- Ceramic Disk Faucets: These use ceramic disks to control water flow and are common in newer faucets.
2. Gather Your Tools
Before starting, gather the necessary tools and materials:
- Adjustable wrench or pliers
- Screwdrivers (flathead and Phillips)
- Penetrating oil (if needed)
- Replacement parts (such as washers or O-rings)
- Towels or rags to catch water and protect surfaces
3. Turn Off the Water Supply
Locate the shut-off valves under the sink and turn them clockwise to shut off the water supply. Once closed, turn on the faucet to drain any remaining water in the lines and relieve pressure.
4. Disassemble the Faucet
To fix a dripping faucet, you’ll typically need to disassemble it:
- Compression Faucets: Use a screwdriver to remove the handle’s decorative cap and unscrew the handle screw. Remove the handle and use an adjustable wrench to loosen and remove the packing nut. Pull out the stem and inspect the washer at the end of the stem.
- Ball, Cartridge, and Ceramic Disk Faucets: These types require specific disassembly steps based on their design. Refer to your faucet’s manual or online guides for detailed instructions on disassembly.
5. Inspect and Replace Faulty Parts
Once disassembled, inspect the parts for wear or damage:
- Compression Faucets: Check the rubber washer at the end of the stem. If it’s worn, cracked, or damaged, replace it with a new washer of the same size and type.
- Other Faucet Types: Inspect O-rings, cartridges, or ceramic disks for signs of wear or debris buildup. Clean or replace these parts as necessary, following manufacturer recommendations.
6. Reassemble the Faucet
Carefully reassemble the faucet in the reverse order of disassembly:
- Compression Faucets: Place a new washer on the stem and reinsert it into the faucet body. Tighten the packing nut with an adjustable wrench, ensuring it’s snug but not over-tightened. Reattach the handle and secure it with the handle screw and decorative cap.
- Other Faucet Types: Follow specific reassembly instructions for ball, cartridge, or ceramic disk faucets, ensuring all components are aligned correctly and securely fastened.
7. Test for Leaks
Once reassembled, turn on the water supply and test the faucet for leaks. Slowly open the faucet and check around the handle and spout for any signs of dripping. If leaks persist, tighten connections or replace parts as needed.
8. Make Adjustments
Fine-tune the faucet operation as necessary:
- Adjust Handle Tightness: Ensure handles are securely tightened without excessive force that could damage internal components.
- Check Water Flow and Temperature: Verify that water flows smoothly and adjust the temperature control if applicable.
9. Clean Up
Clean up any water drips or spills around the sink area. Dispose of old parts responsibly or keep them for recycling if applicable.
10. Monitor for Success
After fixing the dripping faucet, monitor it over the next few days to ensure the issue is resolved. Address any recurring leaks promptly to prevent water waste and potential damage to the faucet.
Conclusion
Fixing a dripping faucet is a manageable DIY task that can save water and money while improving your home’s functionality. By following these steps and understanding your faucet type, you can effectively diagnose and repair common causes of dripping faucets. Remember to gather the right tools, turn off the water supply, and proceed methodically to achieve a successful repair. With a little effort, you can enjoy a drip-free faucet and contribute to water conservation efforts in your home.
 Faucet Online


您好!Sign In