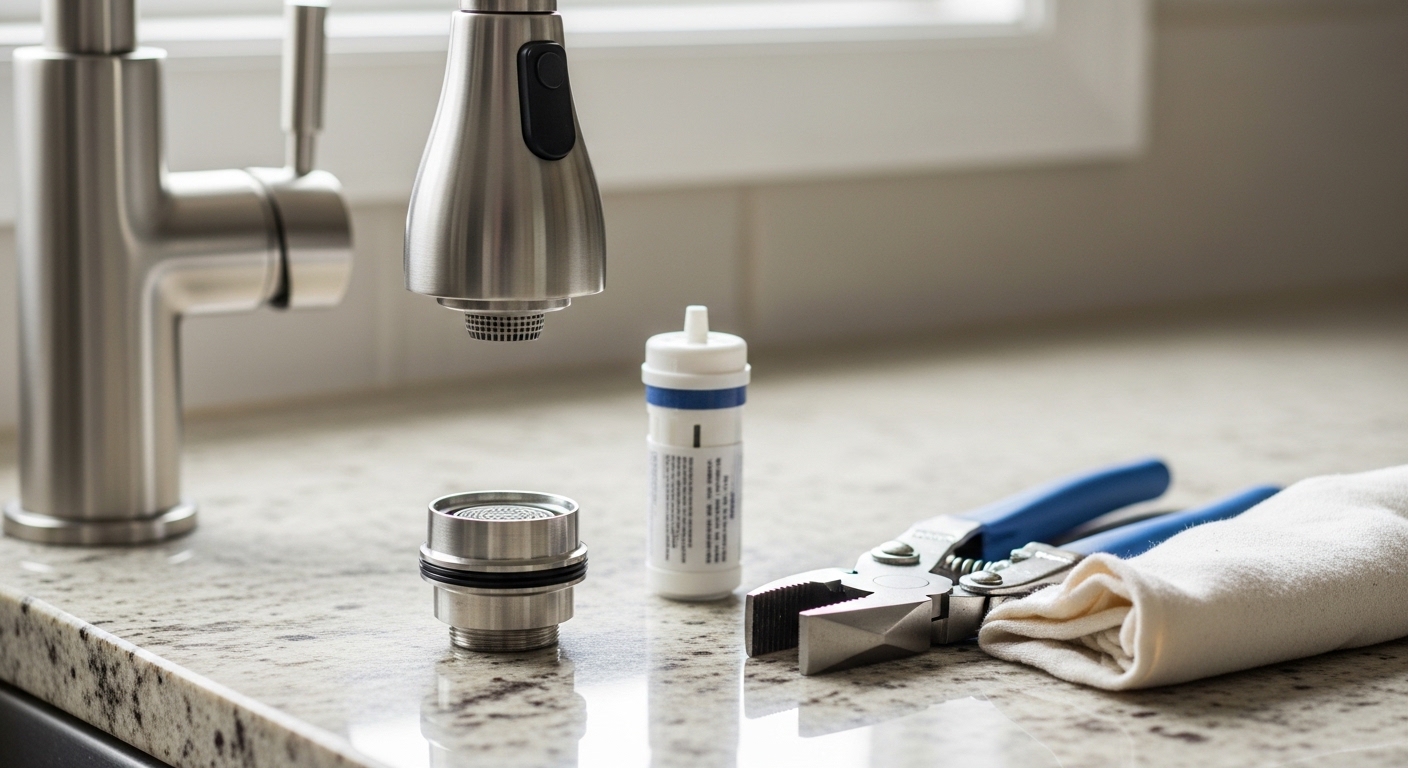
Learning how to change kitchen tap filter cartridges is one of the easiest plumbing jobs you’ll ever do, and it’s something you should be doing on a schedule — not waiting until the water tastes weird. Whether you have a small mesh filter screwed into the tip of your spout, a pull-out spray head with an inline screen, or a full under-sink filtration canister, the core idea is the same: isolate the water, remove the old filter, seat the new one correctly, and flush. Below I’ll walk you through every common type, how to know which one you have, how often to replace it, and the mistakes that cause leaks or bad-tasting water afterward.
What kind of “kitchen tap filter” do you actually have?
Before you unscrew anything, figure out which of three filter types you’re dealing with — because the replacement steps differ. Most kitchen taps have one of these: (1) an aerator/screen filter at the spout tip, (2) an inline cartridge inside a faucet-mounted filtration unit, or (3) an under-sink cartridge in a canister below the counter.
- Aerator screen filter — the tiny mesh-and-plastic insert screwed into the very end of the spout. It’s technically a debris/sediment screen and flow-shaper, not a purification filter, but people call it “the tap filter” all the time. It clogs with hard-water grit.
- Faucet-mounted or built-in filter cartridge — a small carbon cartridge inside a housing at the base or tip of the faucet, common on filtered-water faucets and some pull-down models.
- Under-sink filter canister — a full housing mounted under the counter, fed by its own line, with a screw-off sump and a replaceable cartridge inside. Brands like ZeroWater, Brita, and 3M use this style.
Look at your spout tip first. If you can see a mesh screen, you have an aerator. If your faucet has a separate lever or a second small spout for “filtered” water, trace that line — it usually leads to an under-sink or built-in cartridge. When in doubt, snap a photo of the faucet and check the manufacturer’s model page for the exact filter part number.
How do you change the aerator/screen filter on a kitchen tap?
To change the aerator screen, twist it off the spout tip by hand (righty-tighty from your view underneath means lefty-loosey to remove), clean or replace the insert, and screw it back on snug — no wrench needed for most. This is the “filter” 80% of people are actually asking about when their flow drops or splutters.
- Put a rag over the aerator to protect the finish, then grip and turn counterclockwise (as seen from below). If it’s hand-tight, you’re done; if hard-water buildup has cemented it, use pliers wrapped in cloth.
- Pull out the small screen and rubber washer. Note the order and orientation of the parts — take a photo so you can reassemble it exactly.
- If it’s just clogged, soak the parts in white vinegar for 30 minutes to dissolve mineral scale, then rinse. If the mesh is torn or corroded, drop in a matching replacement insert.
- Reseat the washer, thread the aerator back on by hand until snug, then a quarter-turn more. Run the water and check for drips at the threads.
If your flow was weak and cleaning the aerator fixed it, that’s a clue your water is hard. Our guide on removing hard water deposits from a faucet head covers descaling the whole spout, and if the screen keeps clogging fast, the deeper walkthrough on how to unclog a kitchen faucet aerator shows how to clear grit trapped further up the spout.
How do you replace an under-sink kitchen filter cartridge?
To replace an under-sink filter cartridge, turn off the cold-water shutoff feeding the filter, open the filtered tap to relieve pressure, unscrew the housing sump (or twist out a quick-connect cartridge), swap the cartridge, and turn the water back on while checking for leaks. This is the type most people mean when they buy “replacement filters” in a box.
Here’s the reliable sequence:
- Shut off the water. Close the dedicated shutoff valve on the line feeding the filter. If there isn’t one, close the main cold-water supply under the sink.
- Relieve pressure. Open the filtered-water faucet and let it run dry so the housing isn’t pressurized.
- Place a towel and shallow pan under the housing — there’s always a cup or two of trapped water.
- Open the housing. Twist-in cartridges (ZeroWater, Brita-style) turn a quarter-turn and drop out. Sump-style housings unscrew with a filter wrench.
- Insert the new cartridge. Match the O-ring seating and push/twist until it locks. Lubricate the O-ring lightly with food-grade silicone grease if the housing came apart.
- Reassemble and slowly reopen the shutoff. Watch every joint for weeping.
- Flush. Run the filtered tap 5–10 minutes to purge carbon fines and air. The water may look cloudy at first — that’s air, and it clears.
If your system is a ZeroWater faucet-mount or canister, we’ve written a dedicated step-by-step on ZeroWater faucet filter replacement with the exact TDS-meter timing so you don’t swap it too early or too late.
How often should you change a kitchen tap filter?
Change most kitchen tap filters every 2–6 months, but the real trigger is gallons filtered and your local water hardness — not just the calendar. A cartridge rated for 100 gallons in a hard-water home may exhaust in 6 weeks, while the same cartridge in soft municipal water lasts its full life. Here’s a realistic comparison of the common types:
| Filter type | Typical lifespan | Best replacement trigger | Difficulty |
|---|---|---|---|
| Aerator screen | Clean every 1–3 months; replace 1–2 yrs | Weak or splitting flow | Very easy (hand) |
| Faucet-mounted carbon | 2–3 months / ~100 gal | Indicator light or taste change | Easy |
| Under-sink carbon block | 6 months / ~500–750 gal | Slower flow or taste/odor return | Easy–moderate |
| ZeroWater-style ion exchange | Varies by TDS / ~15–40 gal in hard water | TDS meter reads 006+ | Easy |
| Reverse-osmosis pre/post filters | 6–12 months | Manufacturer schedule | Moderate |
A dead giveaway that you’re overdue: chlorine smell or metallic taste returns, flow at the filtered tap slows to a trickle, or (for ZeroWater) your TDS meter climbs above 006. Don’t push a spent carbon filter — once it’s saturated it can actually release trapped contaminants back into your water.
What tools and parts do you need — and do you really need a plumber?
You do not need a plumber to change a kitchen tap filter; the entire job uses hand strength plus, at most, a pair of cloth-wrapped pliers or a plastic filter wrench. Calling a pro for a filter swap is like calling an electrician to change a lightbulb.
Keep this short kit on hand:
- The correct replacement cartridge or aerator insert (match the model/part number exactly — this is where most people go wrong)
- Channel-lock or slip-joint pliers, plus a soft cloth to protect the finish
- A plastic filter/sump wrench for canister housings
- White vinegar for descaling the aerator
- Food-grade silicone O-ring grease
- A towel and a shallow catch pan
The single biggest mistake is buying the wrong cartridge. Aerators come in different thread sizes (male vs. female, regulated vs. junior) and cartridges are brand-specific. Take the old part to the store or order by the printed part number. If you’re already under the sink and notice the flexible lines or valves look corroded, it’s worth reading how to connect faucet hoses to shutoff valves so you can refresh those at the same time.
Why does the water taste bad or leak after changing the filter?
If your water tastes off right after a filter change, you simply didn’t flush long enough — run it 5–10 minutes to clear carbon dust and air. If it leaks, the O-ring is pinched, missing, or dry, or the housing isn’t seated straight. Both are quick fixes, not defects.
Common post-swap problems and their causes:
- Cloudy or gray water — trapped air and carbon fines. Normal for the first few minutes; keep flushing until clear.
- Leak at the housing seam — the O-ring rolled or is dry. Remove, inspect, lightly grease with silicone, and reseat squarely. Never overtighten to stop a leak; that pinches the seal.
- Weak flow after the swap — cartridge installed backward, a shipping cap left on, or you forgot to fully reopen the shutoff.
- Still tastes metallic — the aerator or spout has scale, not the filter. Descale it separately.
One thing worth flagging: a filter and a faucet cartridge are not the same part. The “filter” cleans your water; the faucet cartridge is the valve inside the handle that controls flow and temperature. If your issue is dripping or stiff handles rather than water taste, you actually want how to install a kitchen faucet cartridge instead — a different job that people frequently confuse with filter replacement.
Author note, credibility, and standards
This guide was written by the WOWOW Faucet product team, who design, bench-test, and warranty kitchen and bathroom faucets sold across North America. We test flow rates, aerator threading, and cartridge seating on our own fixtures, and we build to recognized standards — look for NSF/ANSI 42 (aesthetic effects like chlorine/taste) and NSF/ANSI 53 (health-related contaminants) certification on any replacement cartridge, plus NSF/ANSI 61 and 372 (lead-free) compliance on faucet bodies. WOWOW faucets carry a limited lifetime warranty on the finish and function; using the manufacturer-specified filter cartridge keeps that warranty intact, whereas an ill-fitting third-party part can void it and cause leaks. When in doubt about a certification claim, our walkthrough on how to check if a faucet is eco-certified shows how to verify a listing on the certifier’s own database rather than trusting box art.
FAQ
Can I change a kitchen tap filter without turning off the water?
For an aerator screen at the spout tip, yes — just turn the tap off and unscrew it. For any inline or under-sink cartridge, no: you must close the shutoff valve first, or you’ll get a face full of pressurized water the moment the housing opens.
How do I know which replacement filter fits my tap?
Match the printed model or part number on the old cartridge, or check your faucet’s manual/model page. Aerators also vary by thread size and gender, so bring the old one to the store. Never assume “one size fits all” — the wrong thread will leak or won’t seat.
Why is my water pressure low after replacing the filter?
Usually the shutoff valve wasn’t fully reopened, a shipping cap was left on the new cartridge, or the cartridge was installed backward. Also check that the aerator screen isn’t clogged with scale — that restricts flow independently of the filter.
Do I need to flush a new kitchen filter before drinking the water?
Yes. Run the filtered tap for 5–10 minutes to purge carbon dust and trapped air. The water may look milky at first — that’s air, and it clears. Skipping the flush is the number-one cause of “bad taste” complaints after a swap.
Is an aerator the same thing as a water filter?
No. An aerator is a mesh screen at the spout tip that shapes flow and catches sediment; it doesn’t purify water. A true filter uses activated carbon or ion exchange to reduce chlorine, taste, and contaminants. Many people call the aerator a “filter,” which is why matching the right replacement part matters.
How much does it cost to change a kitchen tap filter myself?
Just the price of the cartridge — typically $8–$40 depending on type — versus $75–$150 for a plumber’s minimum service call. Since the job takes 5–15 minutes with basic hand tools, doing it yourself is almost always the smart choice.